Introduction
I’ve blogged before about all the problems I’ve had with the Reynolds carbon wheels on my MTB. Summary:
- In Oct 2020, the rear hub pawls sheared, stranding me in the desert near Moab.
- In early 2021, the spoke nipples started breaking due to corrosion. Shame on Reynolds for using aluminum spoke nipples with carbon rims. I rebuilt the wheels with brass spoke nipples.
- In 2021, the front hub developed a bit of slop/play. It wasn’t the bearings, but between the axle end caps and the hub shell, due to slight distortion of the latter.
- In June 2021, the rear rim carbon delaminated, Reynolds sent me a new rim under warranty and I rebuilt the wheel the day before a big ride.
- In Sep 2022, the rear axle broke, stranding me in the middle of nowhere on the John Wayne Trail.
- In Oct 2022, the rear Hub shell was distorted (ruined) due to forces from the pawls. This hub has the pawls in the body and the ratchet on the freehub, the opposite of how it’s normally done.
The root cause of most of the problems is the Reynolds hubs – they just aren’t durable enough to stand the test of years & thousands of miles. Bearings, pawls, etc. are wear items but the hub shell/body should be a lifetime part. Clearly, these are not.
The only solution was to replace the hubs. But with what? After doing my homework I decided on DT Swiss model 350, front and rear.
Front:
- 28 spokes: DT comp straight-pull, 14-15-14 gauge, length 283/282
- Straight Pull
- 100mm dropout distance
- 15mm through-axle
- 6-bolt disc
- Rim: OEM Reynolds AR Carbon, 584, ERD 556mm
Rear
- 28 spokes: DT comp straight-pull, 14 straight gauge, length 278/277
- Straight Pull
- 142mm dropout distance
- 12mm through-axle
- 6-bolt disc
- SRAM XD freehub/driver
- Rim: Reynolds Blacklabel 287 Carbon, 584, ERD 547mm
Preparation
Straight-pull hubs are less sensitive to spoke length than conventional flanged hubs. A big difference in hub offset radius is a small (often 1mm) difference in spoke length. But, straight-pull hubs can only be laced one way – they take away all the freedom that flanged hubs provide. And straight-pull spokes twist up much worse the J-bend; a spoke grabber is essential. However, every broken spoke I’ve ever had broke at the J-bend. It’s a natural weak spot in the spoke. I’ve never broken a straight-pull spoke. To me, that’s worth the tradeoffs. Most likely, I’d be able to reuse my existing spokes.
Note: the DT Swiss 350 hubs have a different spoke lace pattern from the Reynolds hubs. Both straight-pull, both 28 spoke, symmetric 14 per side. But the spoke outlets alternate differently. More on that later.
After removing the spokes I scrupulously cleaned them with isopropyl alcohol. Then I chased the threads with fresh spoke nipples (DT brass, black), screwing each nipple all the way to the end of the spoke threads, where the end of the spoke sticks out of the back of the nipple by about 2-3 mm. Sometimes the nipple/spoke interface is so tight, this can’t be done by hand and takes a spoke wrench. Then unscrew the nipple and use it only for exactly that spoke.
Before inserting each new spoke into the wheel, I dip the spoke threads in boiled linseed oil. This lubricates the nipple-spoke interface, and after a week or so the linseed oil turns into a gummy paste that acts as a gentle threadlock.
All this adds an extra hour of labor to each wheel build. So why do it? New spoke nipples are tight, all that friction binds up, which often strips the spoke nipple’s square nut section before the nipple is properly tight. When this happens while you’re building the wheel, it’s super annoying. When it happens a year down the road while you’re truing the wheel, it’s a major hassle with tubeless MTB wheels. This extra hour on each wheel makes the build process seamless and efficient, and helps ensure trouble-free maintenance for years to come.
Front Wheel
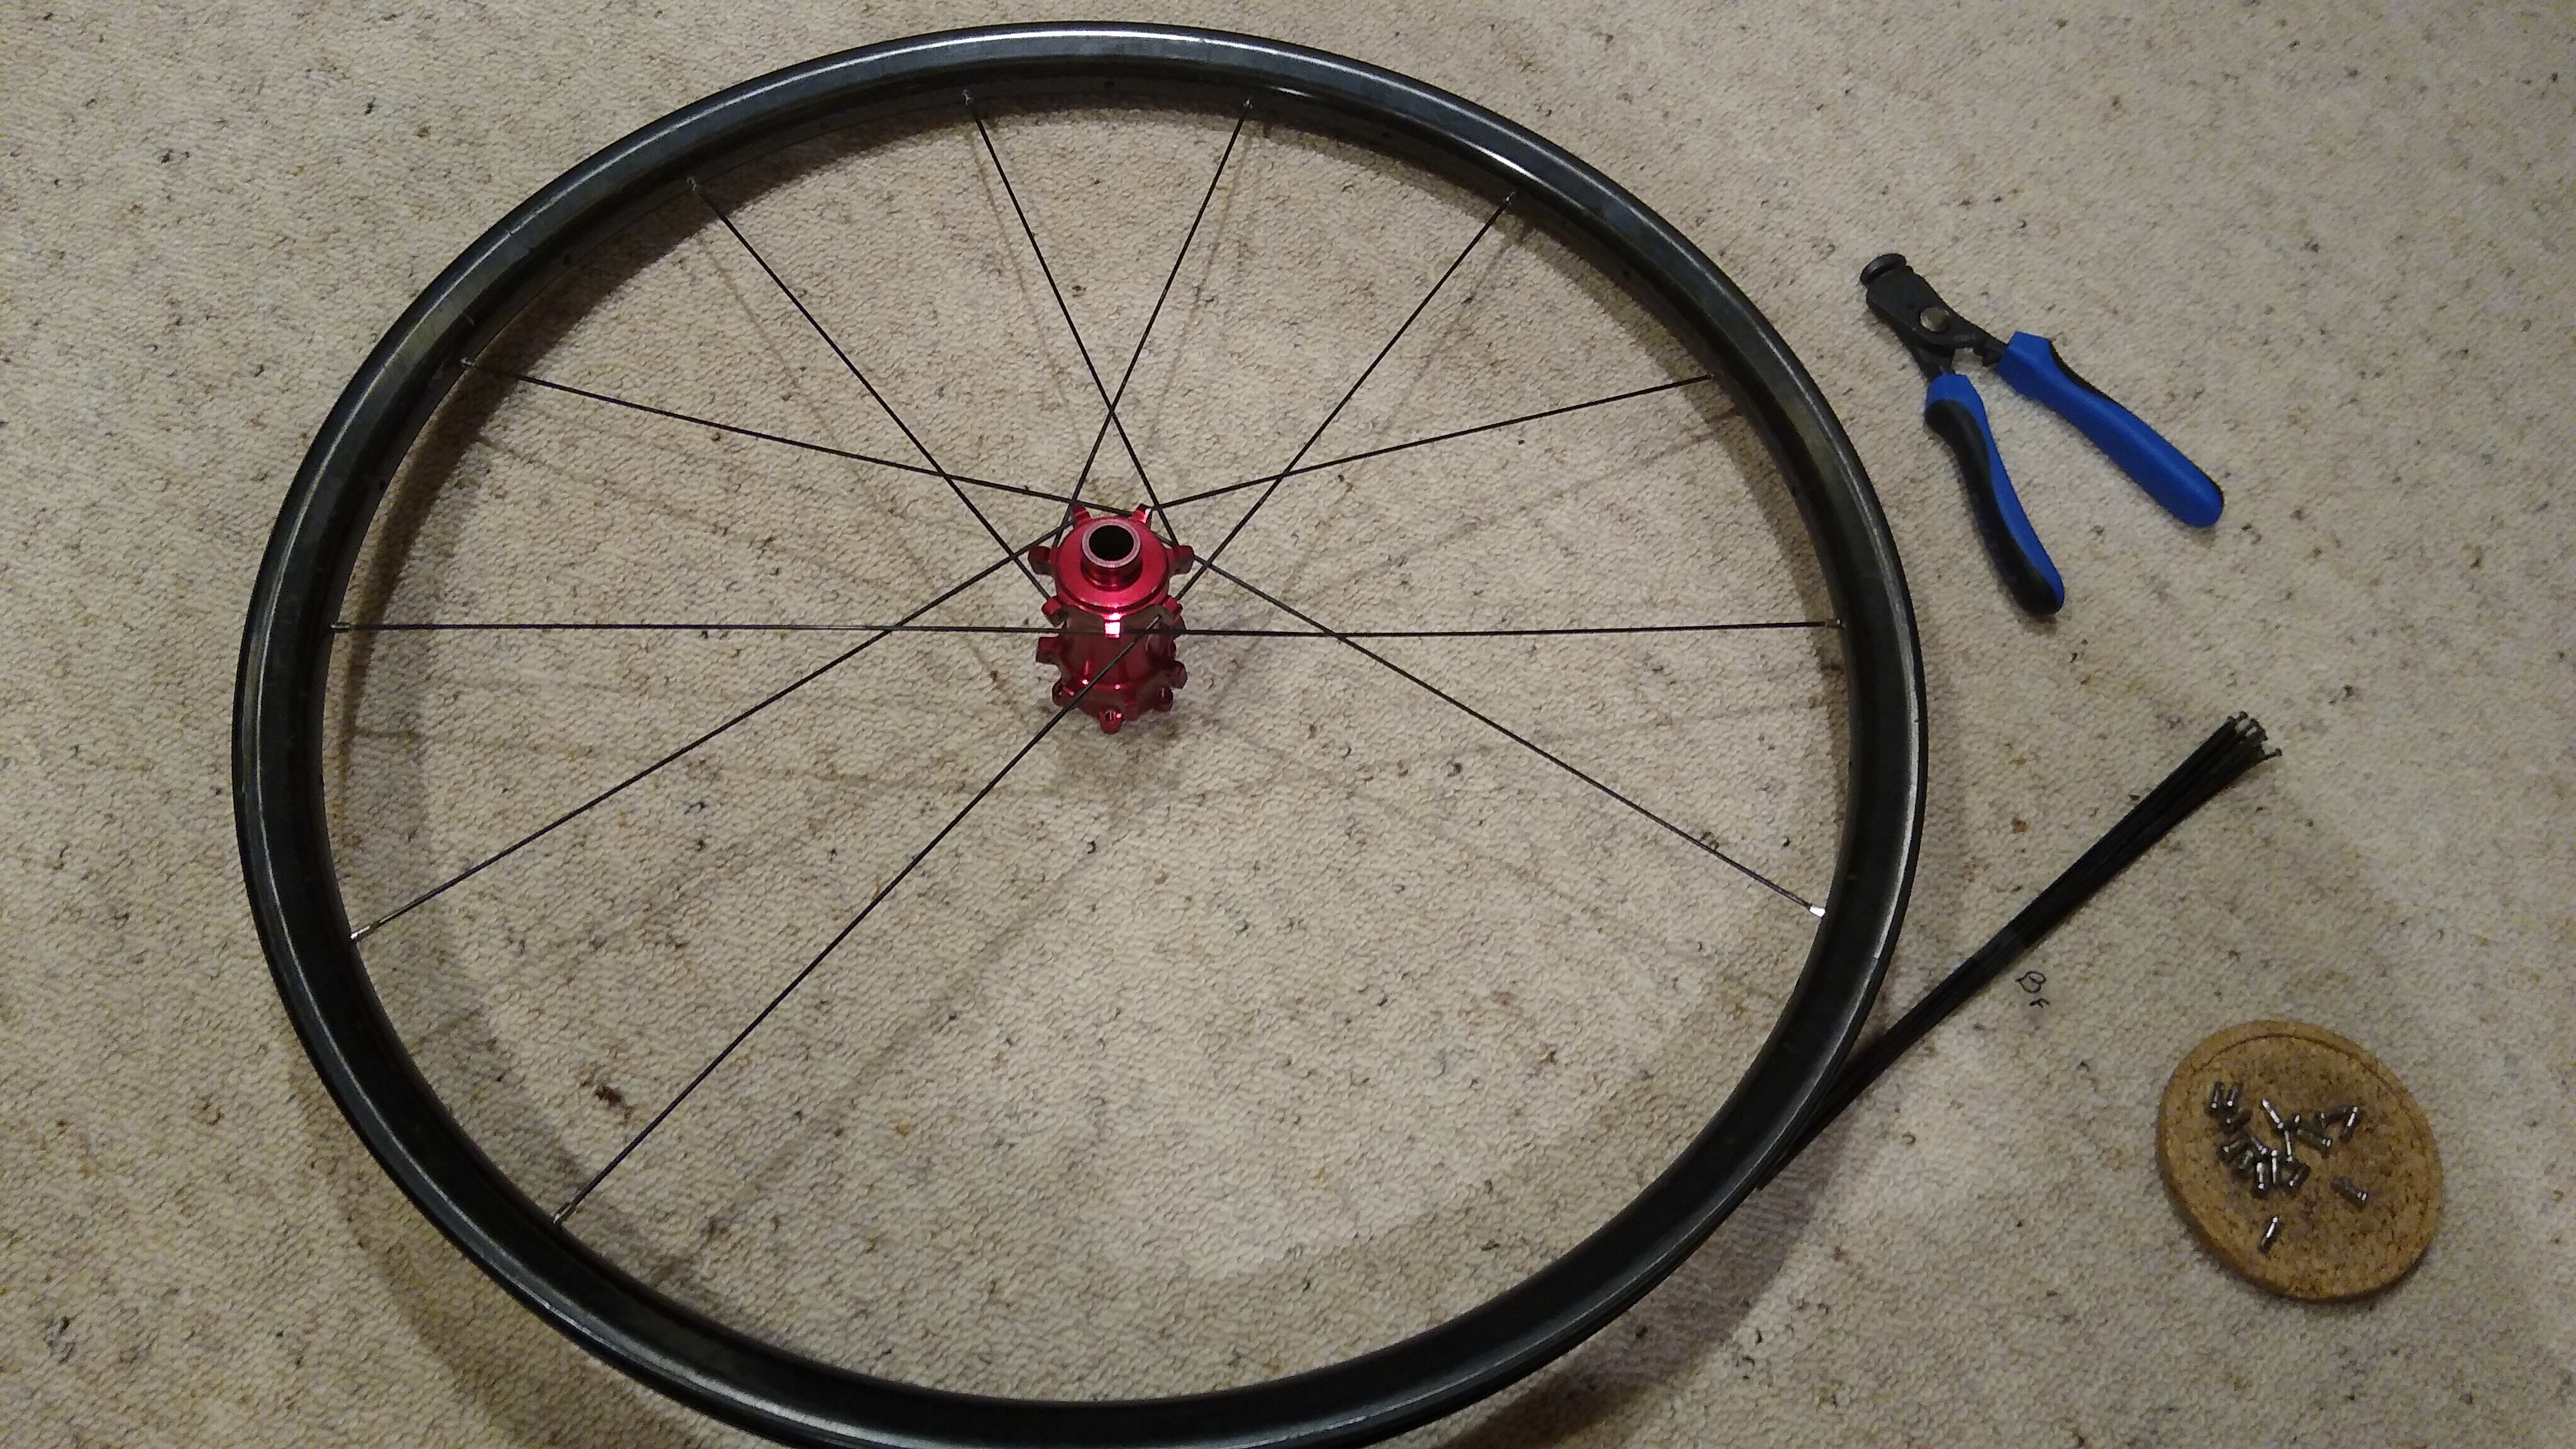
Out with the old!
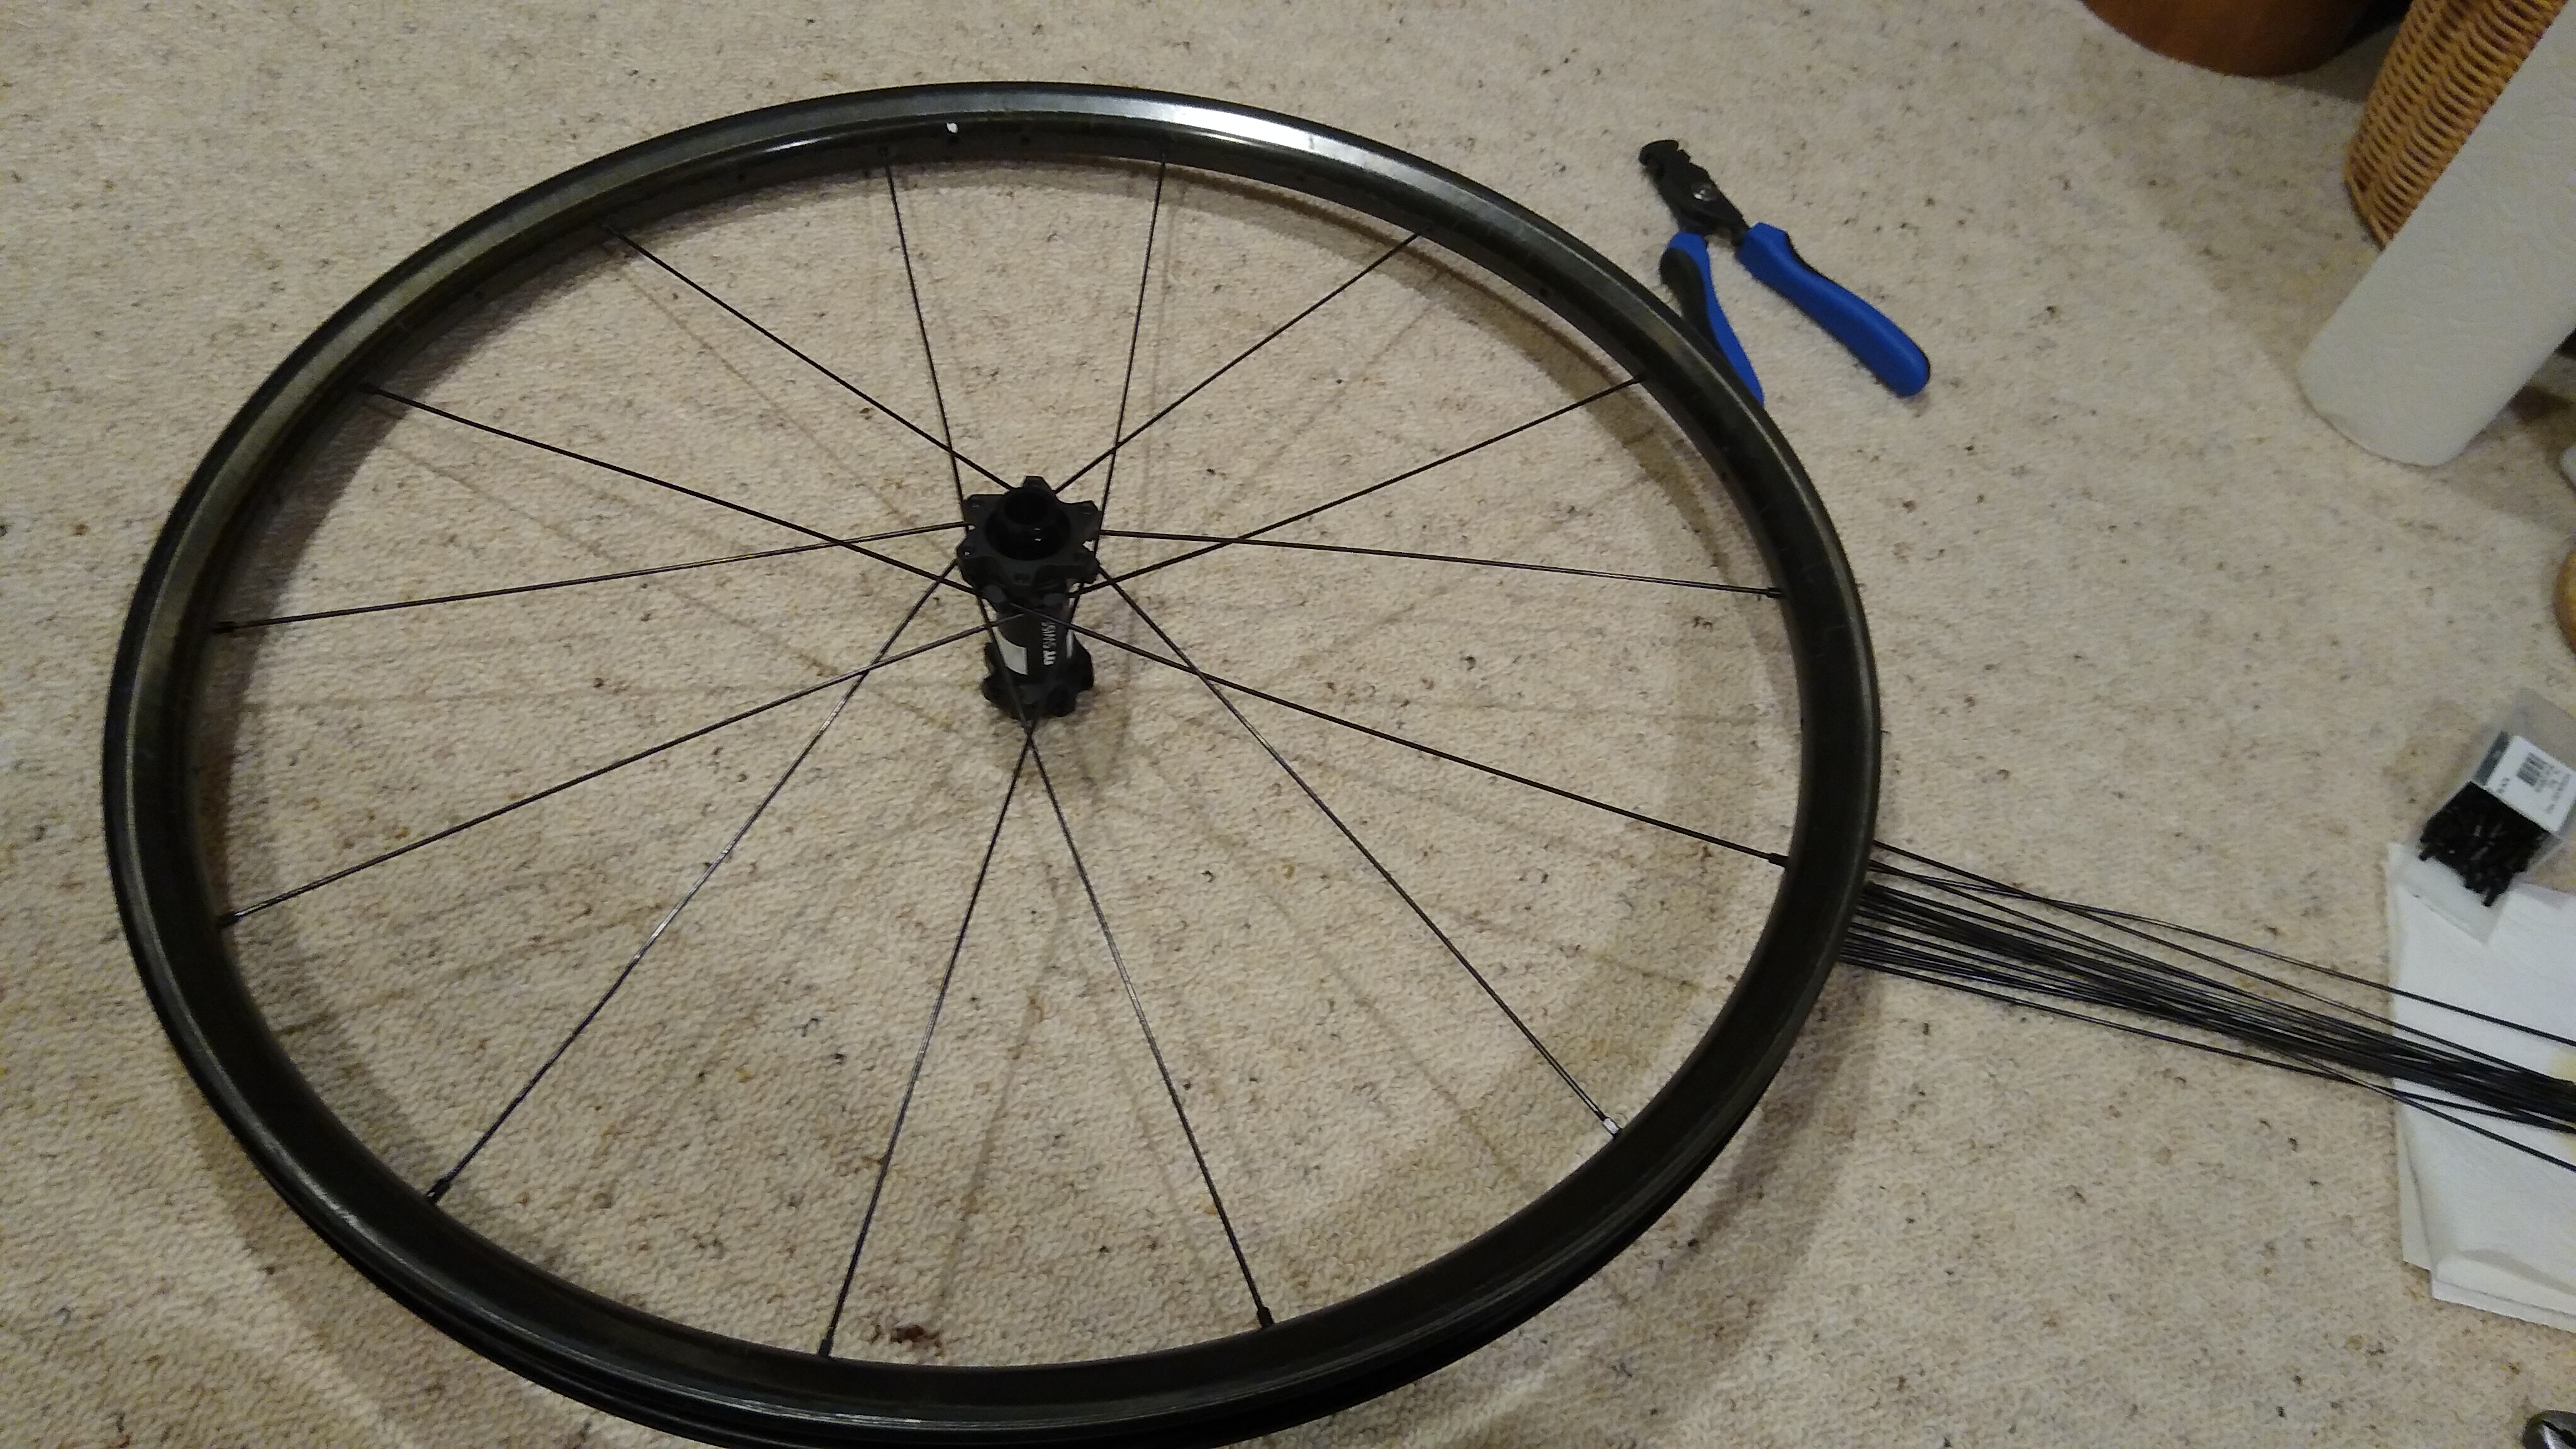
In with the new!
The front rim is the OEM, circa 2014 Reynolds AR carbon. It’s symmetric with center-line spoke holes, so the DT Swiss hub’s alternative spoke pattern didn’t matter. Due to the disc brake, the front wheel has a bit of dish and different length spokes on each side.
This was my second time to rebuild this front wheel. Hopefully, the last. After installing it in the bike, there is no more free-play. Problem solved!
Rear Wheel
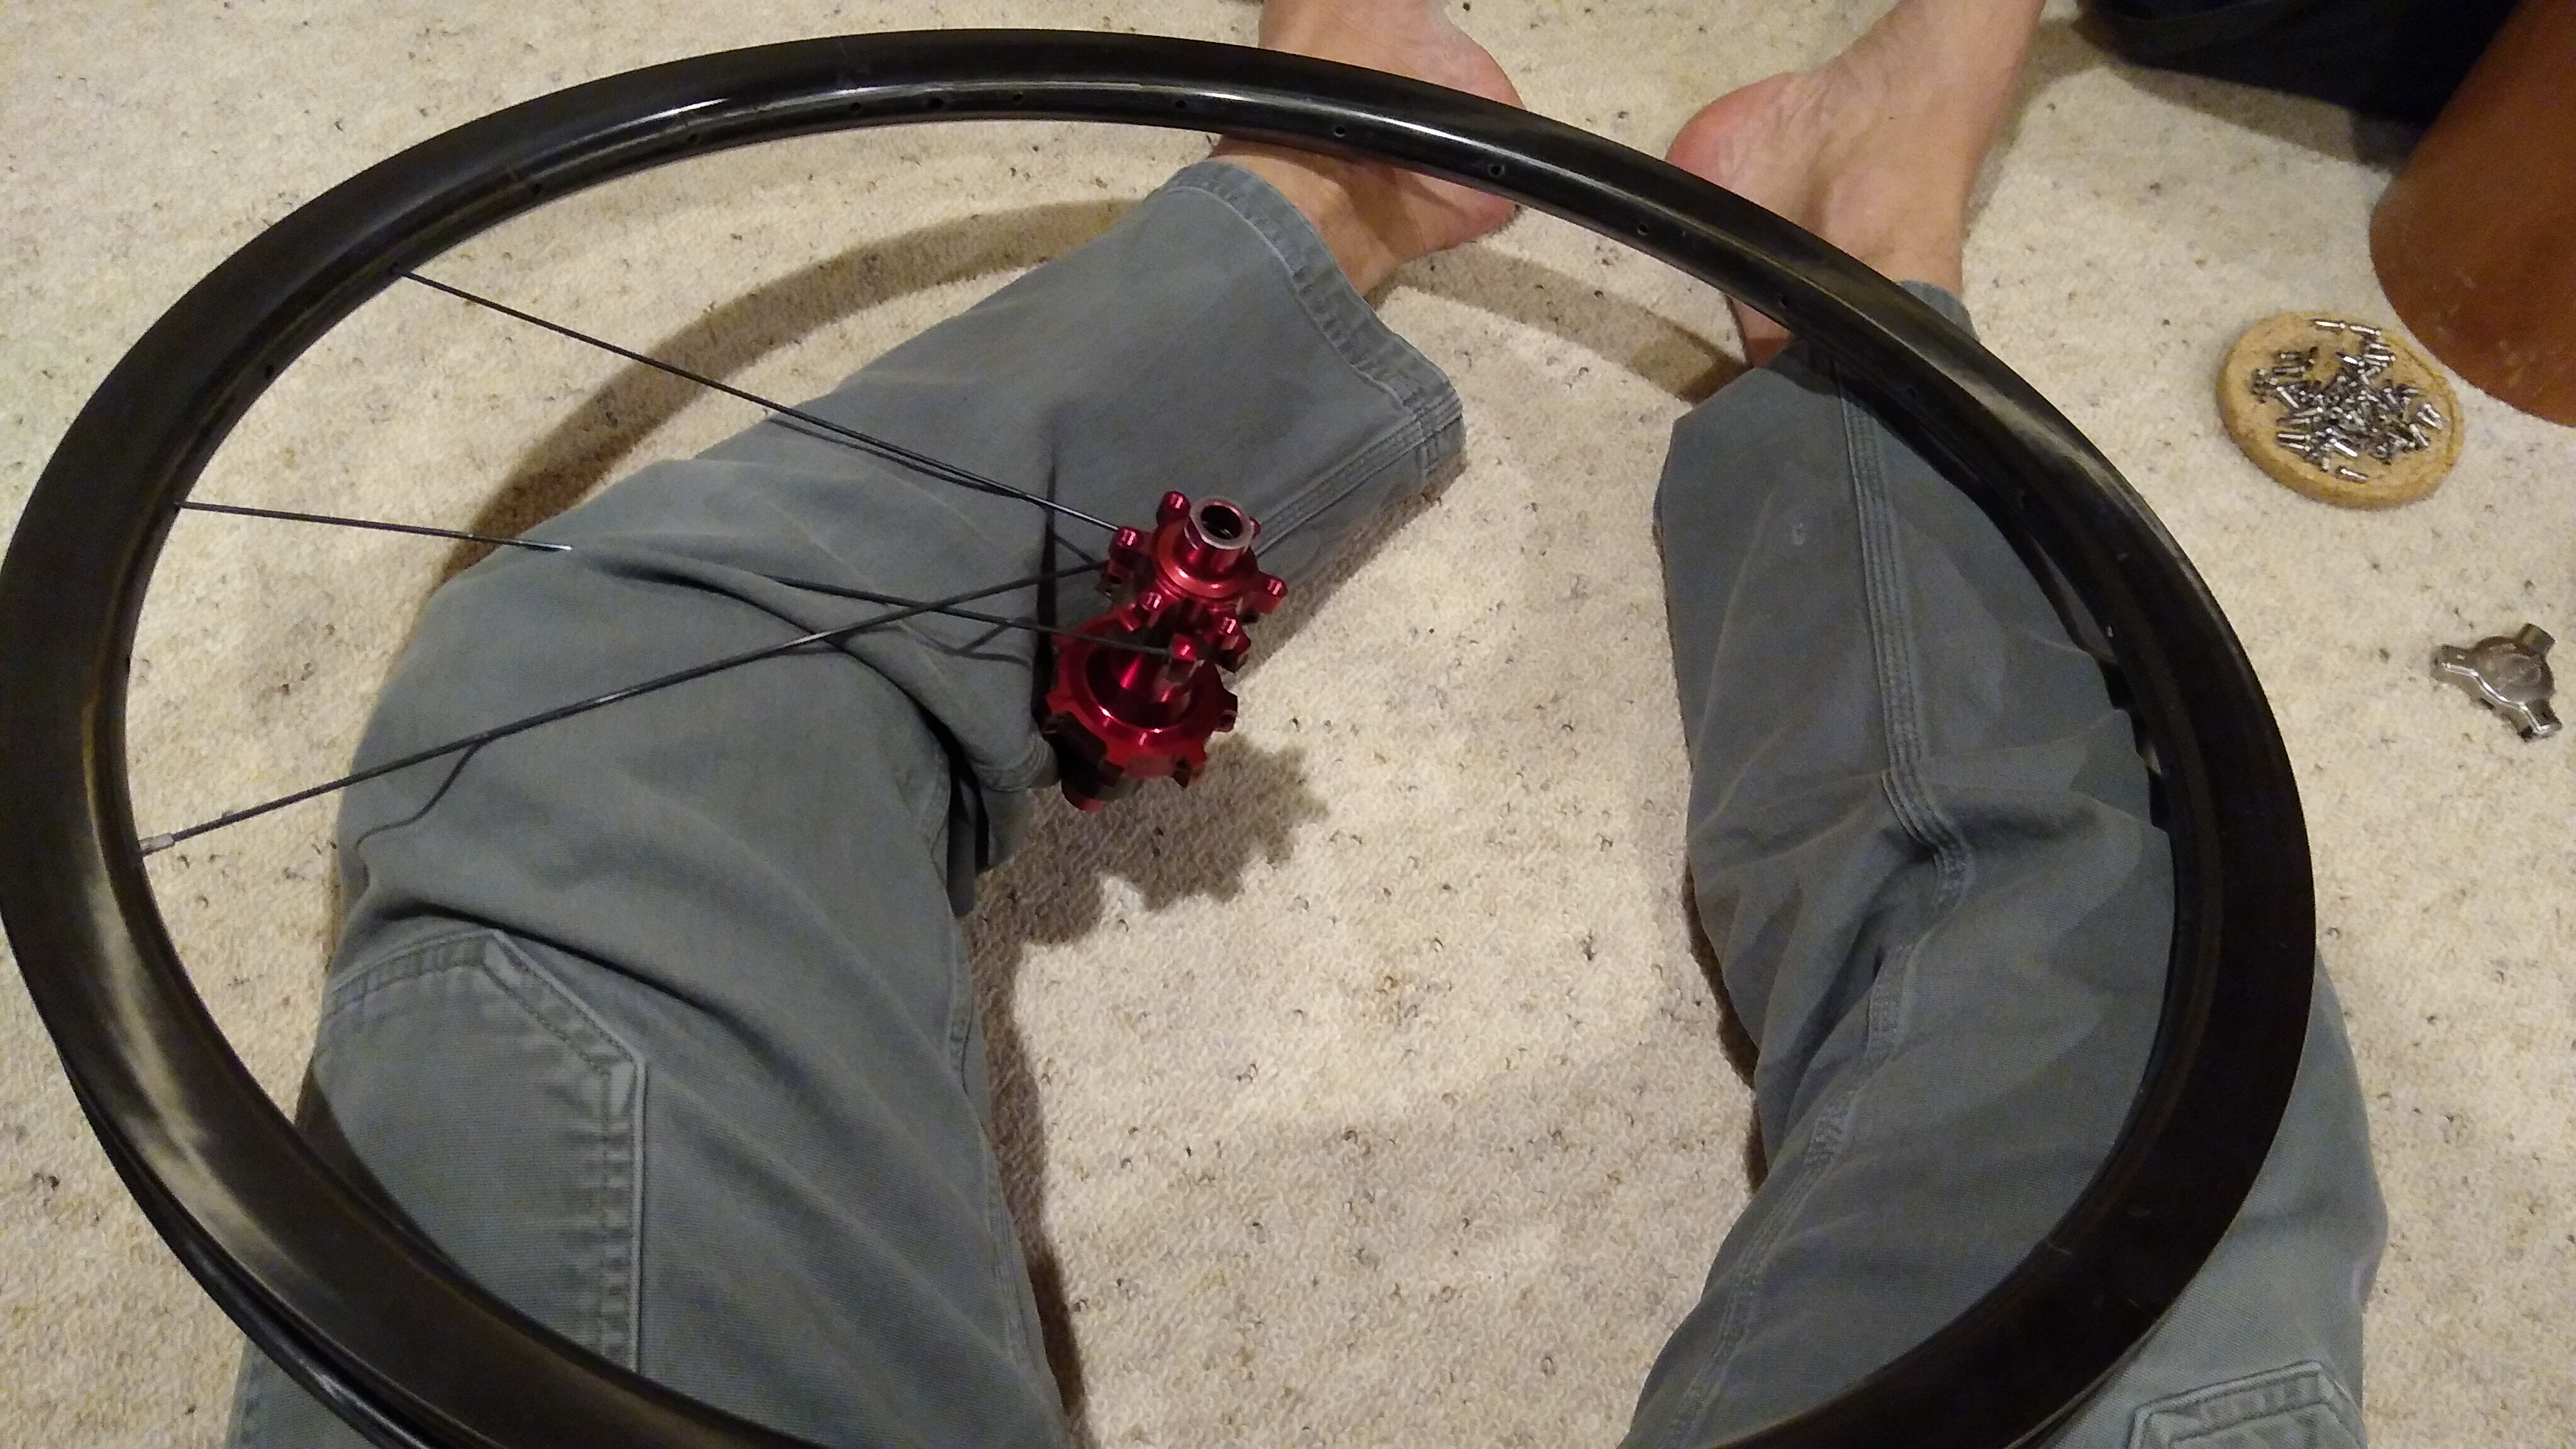
Out with the old!
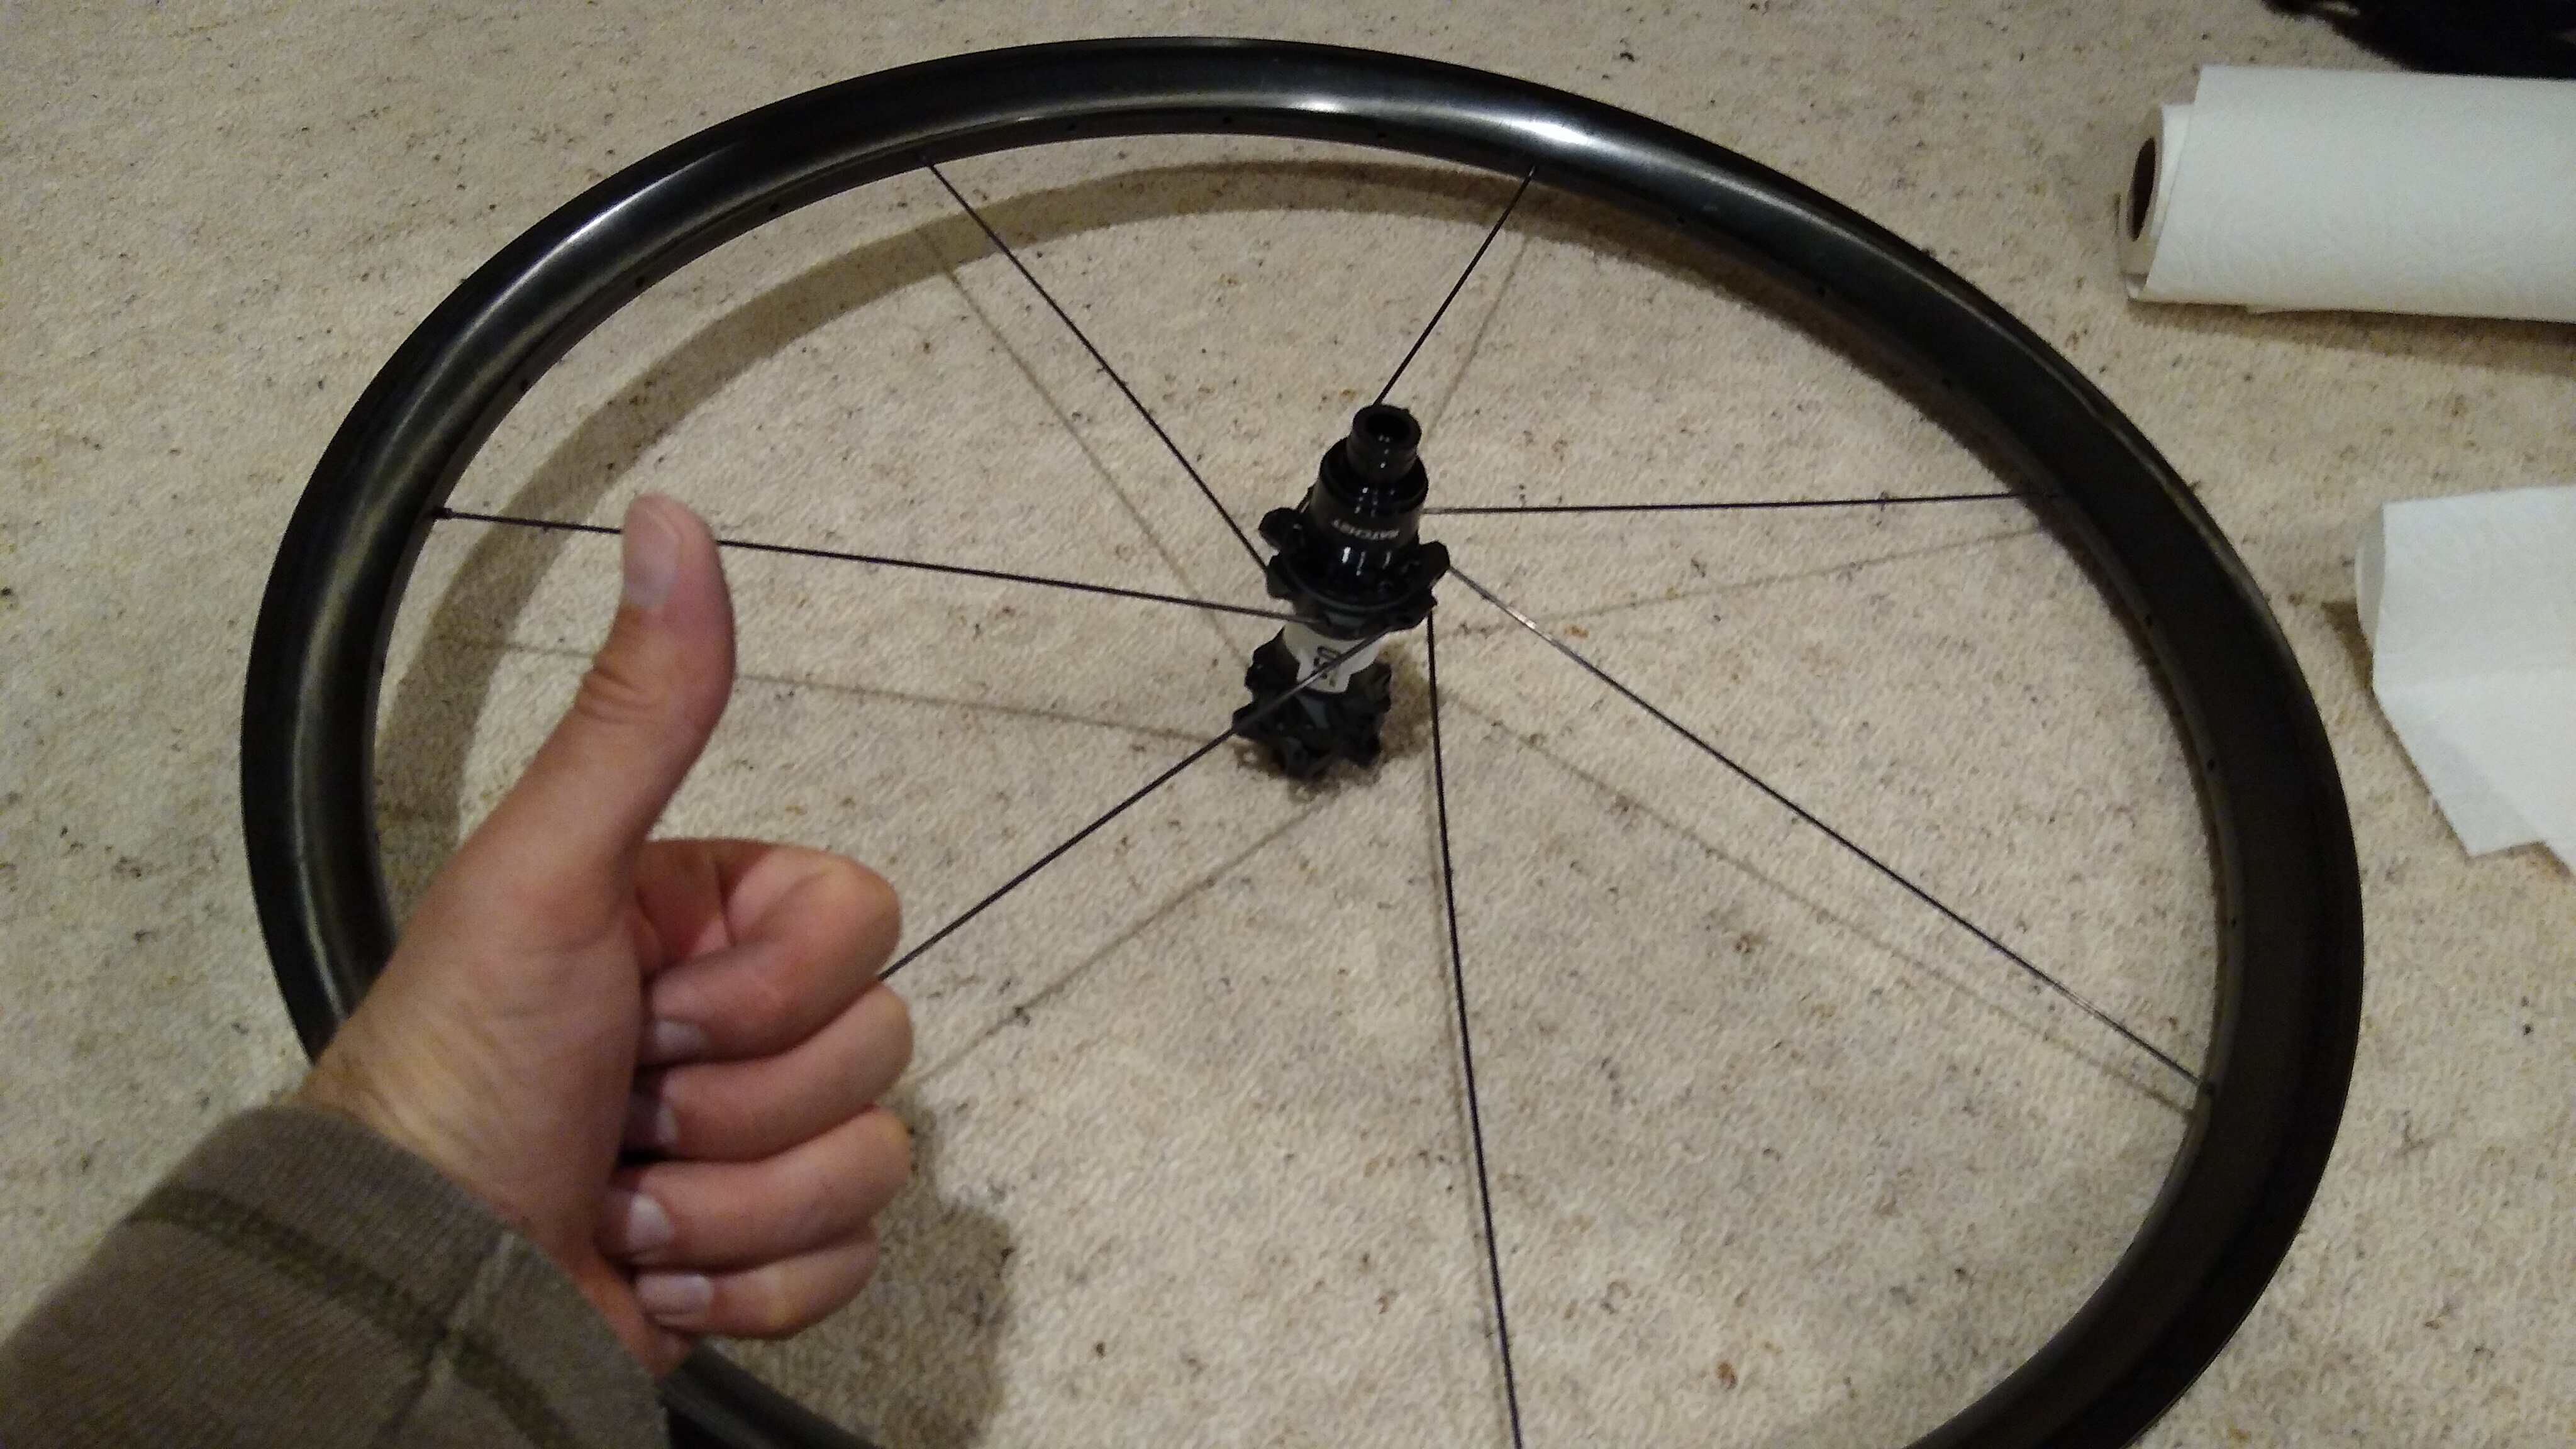
In with the new!
The rear wheel made me think thrice before lacing it up. The rim is asymmetric with all spokes offset from the centerline. This means the rim can only go on the wheel one way – you can’t flip it around – the drive side must be the wide side. And, the spoke access holes on the rim outer edge are offset to alternating sides. This makes the wheel stronger, but removing both of these degrees of freedom forces you to lace the wheel in exactly one way – no flexibility.
The problem is, the spoke access holes were on the wrong sides. In more detail: the standard way to build a wheel is to lace the wheel with the hub logo facing the valve stem, and put parallel spokes along the valve stem for easier pump access. The spokes next to the valve stem always go to opposite sides of the hub. Yet this wheel’s offset spoke access holes force those sides – you don’t get to pick. Problem is, the Reynolds and DT Swiss hub have opposite lacing patterns. Because they don’t have a flange, you’re forced to align the spokes a specific way. One of these hubs could not be properly laced to this rim.
On closer inspection, the spoke access holes are offset to the opposite side the spoke should go. Not the same side, as rims of yore did it. Why? Because carbon rims (unlike rims of yore) are deeper. When you insert a spoke screwdriver from outside the rim into the spoke access hole, that hole being offset to the opposite of the side of the hub the spoke attaches to, aligns your screwdriver straight-on with the spoke nipple head.
Because the inside spoke holes are not offset, but all aligned (off rim center, but still aligned), you could lace the wheel either way. But lacing it one way, it’s harder to screw the spoke nipples from outside the rim. Fortunately, that’s the way I built this Reynolds wheel a year and a half ago. I had no choice, the hub and rim design gave me no other option. Apparently, Reynolds changed their offset patterns after my OEM hub was made, and before my warranty replacement rim was made. But for the DT Swiss hub, it lined up as it should.
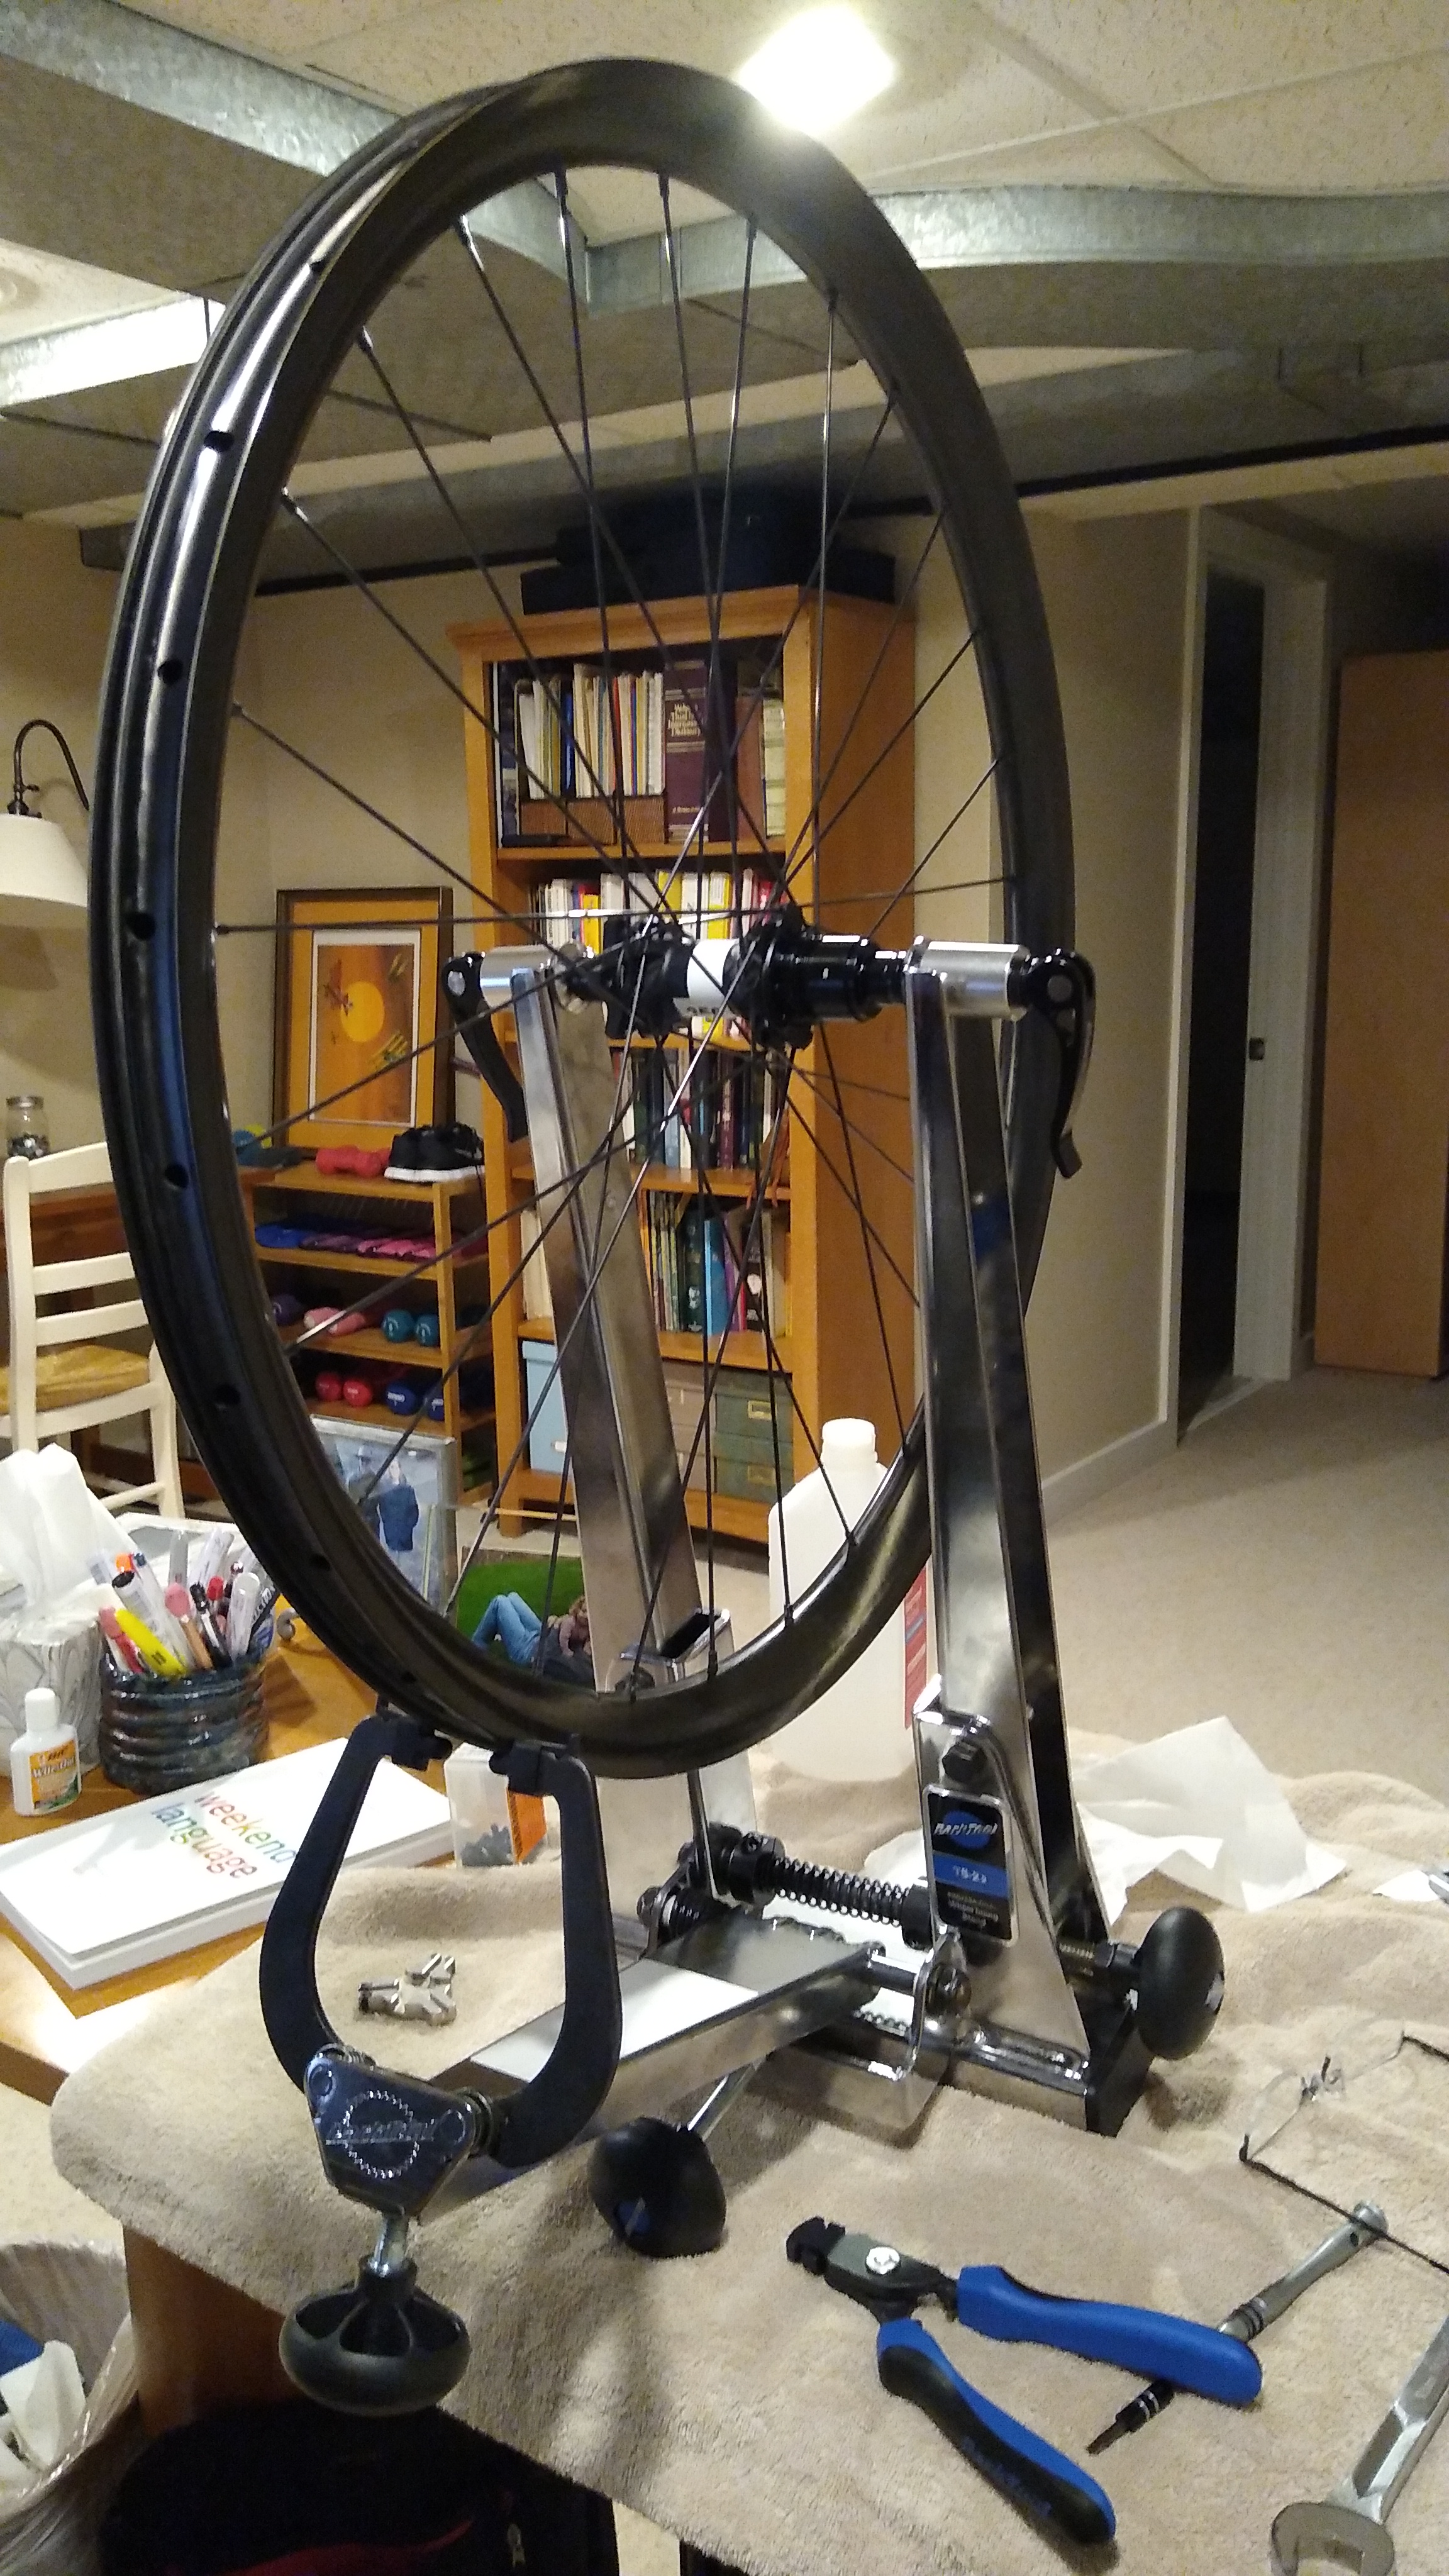
A newborn rear wheel, still on the stand. So beautiful!
Wrapping Up
My original front rim (AR) has a 23mm inside width, and the warranty replacement (Blacklabel) measures 27mm. I ran out of rim tape for the front, so I had to order another roll. I had only enough 27mm rim tape to wrap the rear once, and I prefer to wrap it twice. So the tires are not yet installed. But I did mount the rims back on the bike. Perfect fit, perfect dish, no bearing play.
One thing I don’t like about this DT Swiss rear hub is it has a lot of drag when coasting. More drag than standard pawls & ratchet. Perhaps that’s a small price to pay for the higher durability and longevity of the unique DT Swiss ratchet mechanism. Maybe it will loosen up as it breaks in. I might also replace the ratchet grease with a heavy oil like chainsaw bar & chain oil. We’ll see…
Conclusion
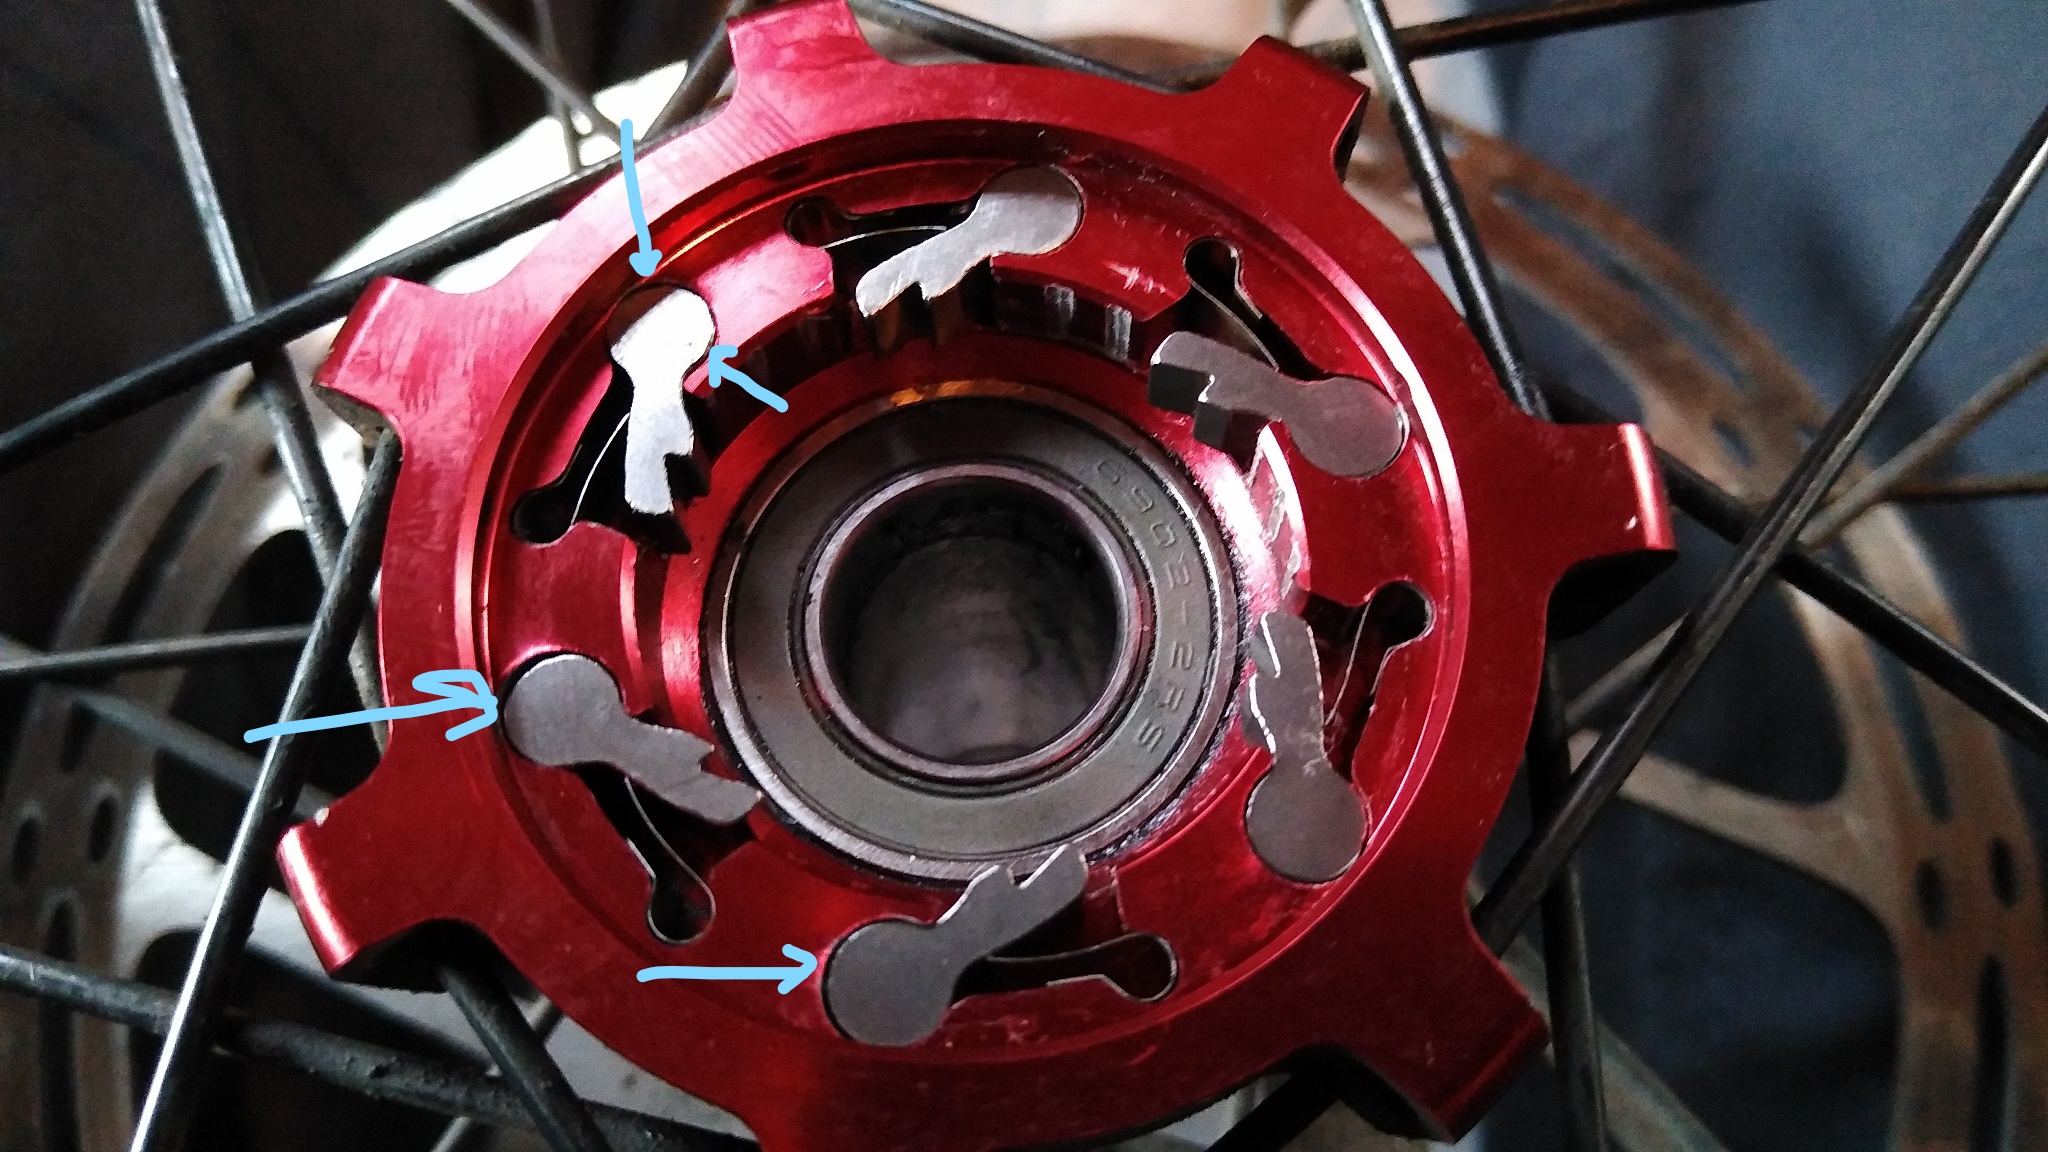
To their credit, reynolds admitted the reason their hub shell deformed is due to flawed design. Here’s the freehub pawl pocket distortion:
So Reynolds offered a warranty hub replacement, and confirmed that their new hubs use the conventional design of ratchet in the hub shell and pawls in the freehub/driver, which is more durable. But their offer was a joke. Mail your wheel to them, they’ll rebuild the rim onto a new hub, with new spokes, and charge you $200 for parts & labor. Well, it costs about $100 to mail a wheel. So that’s $300 for each wheel, or $600 total. Sure it’s a lot cheaper than a new set of carbon wheels. But you’re not getting a new set of wheels. You’re getting your same old rims back with new hubs.
I asked them if they could simply mail me replacement hubs under warranty and I’ll rebuild the wheels myself, reminding them that when the rim failed they mailed me a naked rim and I rebuilt the wheel myself. They said no.
So I bought a pair of DT Swiss 350 hubs, total cost $425. Plus an extra $10 for new brass spoke nipples, because now I’ll have black rims, black hubs, black spokes, so I wanted black nipples. Because black is cool. It cost me less than Reynold’s “warranty” offer, and I got a better set of hubs that should last a lifetime.
The only discouraging part of the process was during the wheel build. Theoretically, if you start with a rim that is round & true, and equal length spokes (each side may have different lengths, but the lengths of all spokes on each side the same), then each side of a wheel built true and round will have equal spoke tensions all around. Conversely, if a wheel is true and round but the spoke tensions are not equal, then the rim is bent or has pent up stress. This theoretical ideal is usually achieved with new rims. But when rebuilding a rim that has thousands of miles on it, all bets are off. When building these wheels, I noticed that the spoke tensions were not as equal as I would like. I do stress the wheel when building to seat spoke & nipple heads and release/equalize stress. But apparently that wasn’t enough. They’re great wheels, so I hope the spoke tensions equalize as I start riding them again. They usually do.
Post-Build
I put about 70 miles on these wheels since I rebuilt them, 12 of which on rugged (black diamond) MTB trails. They were perfect from the get-go: no pops or clicks from spokes settling, no need for truing or rounding. The front wheel’s hub play is eliminated – steering is precise and the bike feels & sounds solid over the bumps & jumps. On the rear wheel I cleaned both drive ratchets and lubed their outer circumference (where they engage with the hub & freehub) with chainsaw bar & chain oil, which is only a tad thinner than the OEM red grease (which appeared to be #0 or #1 viscosity). Engagement is rock solid and confidence inspiring. When coasting, it’s nearly silent. The bearings are dead silent and butter smooth in feel. Overall, it’s exactly the repair / modification I needed.
A month later the non drive side spokes felt a bit loose, so I tightened all the spokes 1/4 turn. Some of the drive side spokes are reaching their tension limit, any more and the spoke nipples will strip. Spoke tensions are as tight as they can reasonably get.
